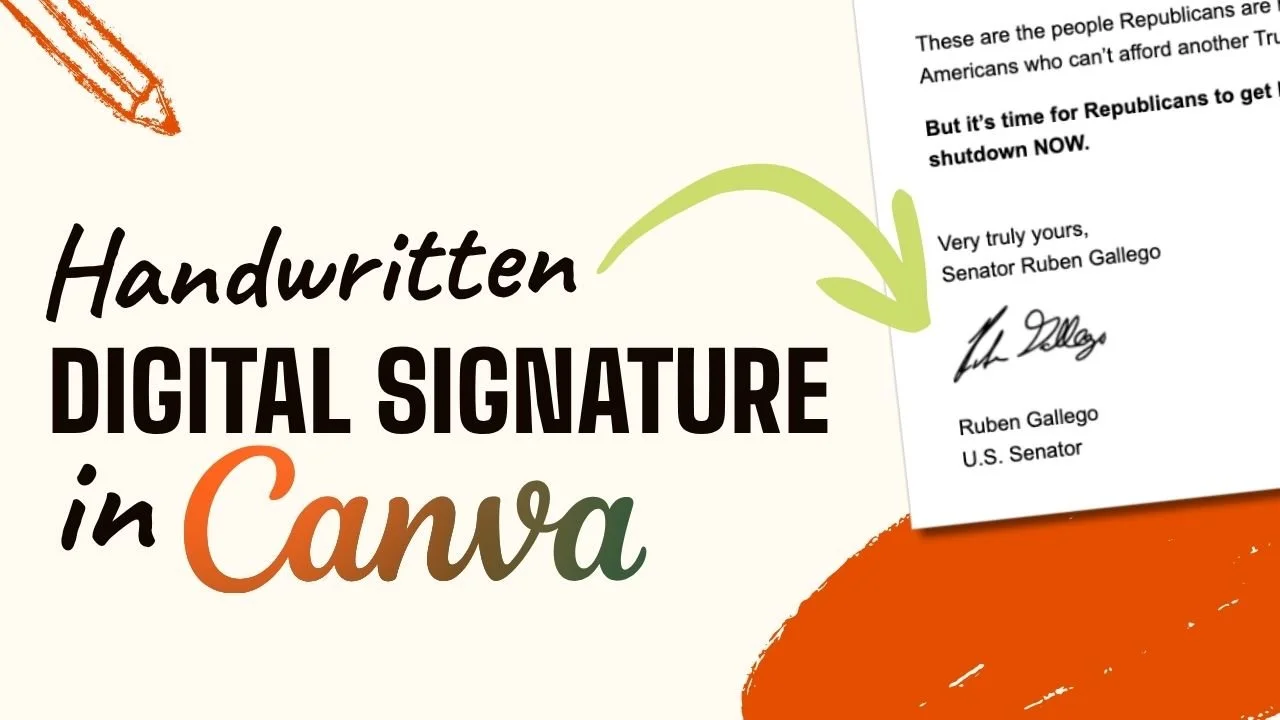
Creating a Digital Signature for Your Blog Posts Using Canva
Watch the video on Youtube
Objective
In today’s digital world, adding a personal touch to your blog posts makes all the difference. A well-designed digital signature boosts your brand identity while bringing professionalism and authenticity to your content. This guide will take you through an easy, effective way to create a high-quality digital signature with Canva—designed to look great no matter the background or platform. Whether you’re a seasoned blogger or just starting out, these step-by-step instructions will help you create a signature you’ll be proud to share.
Key Steps
Step 1: Prepare the Signature File 0:00
Obtain the client's signature file (JPEG format).
Ensure the file size is small (recommended dimensions: 250 x 125 pixels).
Step 2: Remove the Background 1:01
Open the signature file in Canva.
Select the image and use the 'Background Remover' tool to eliminate the white background.
Step 3: Trace the Signature for Higher Quality 1:44
Search for the 'Tracer' app in Canva.
Use the Tracer tool to convert the image into a higher quality format (similar to SVG).
Step 4: Adjust and Center the Signature 2:02
Resize the traced signature as needed for clarity.
Center the signature within the design.
Step 5: Download the Signature 2:43
Click on 'Download'.
Select 'Transparent' background option.
Choose 'Current Page' to download the signature.
Cautionary Notes
Ensure the final signature file is small enough for email or newsletter use.
Always check the quality of the signature after tracing to ensure it meets standards.
Tips for Efficiency
Use Canva's AI tools to speed up the process of background removal and tracing.
Keep the original signature file for reference in case adjustments are needed.
